
Creating your own drone from scratch can be both an exciting and educational project. It requires understanding of various components and the intricate dance of assembling them. We’ll guide you through the journey of crafting your personalized airborne gadget.
Understanding Drone Anatomy
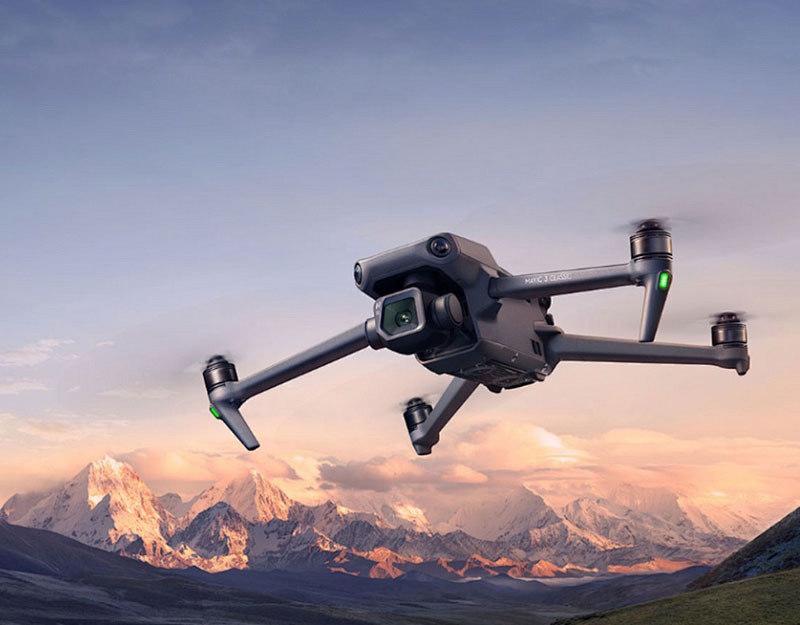
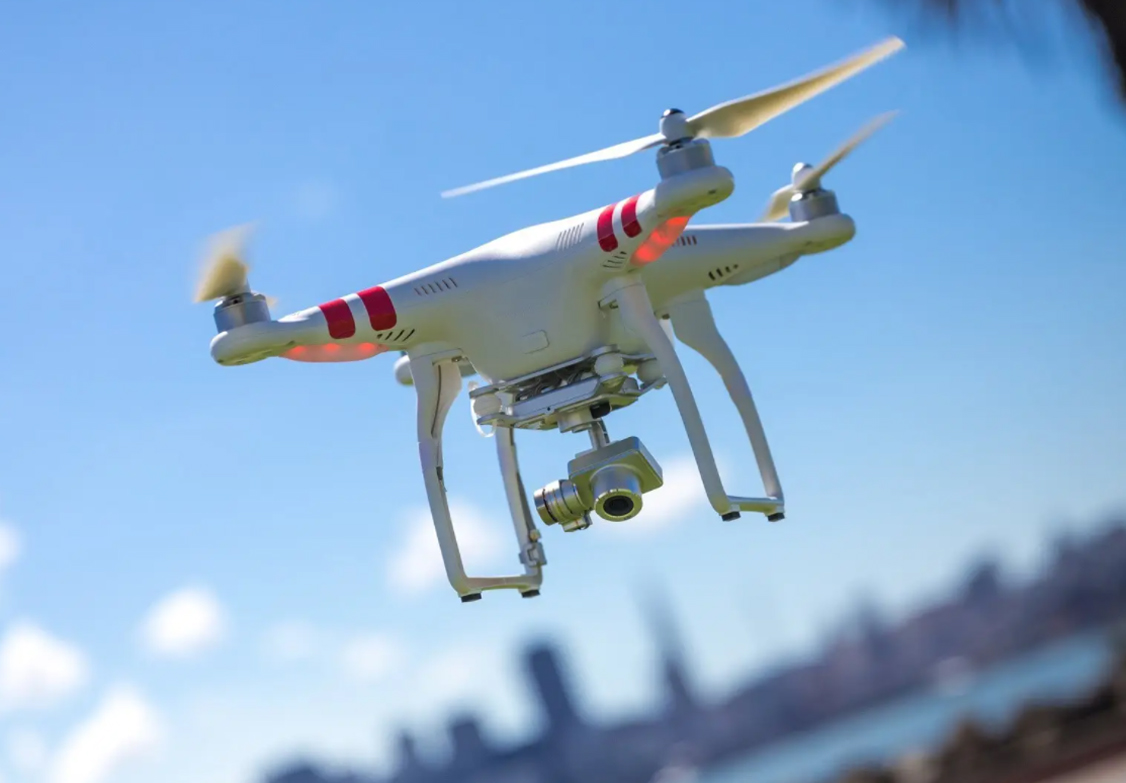
Drones are fascinating gadgets composed of several key parts including the frame, motors, electronic speed controllers (ESC), flight controller, propellers, batteries, and often a camera for aerial photography. Grasping each part’s role is crucial for your drone’s optimal performance.
1. Frame
The frame is the skeleton of your drone. It’s important to choose a sturdy, lightweight material, such as carbon fiber, to ensure durability and flight efficiency. The frame needs to securely hold all the components together.
2. Motors
Motors are the drone’s powerhouse. Choose brushless motors, as they offer better performance and lifespan. The number of motors is often four, which supports the quadcopter design, but can vary depending on your specifications.
3. Electronic Speed Controllers (ESC)
ESCs regulate the power supply from the battery to the motors, balancing the right amount of thrust for stable flight.
This is crucial for responsive controls and smoother operation.
4. Flight Controller
The flight controller is the brain of the drone. It translates your manual input into motion, maintaining balance
and controlling navigation.
5. Propellers
Choose propellers that complement your motor and frame design. The right size and material are vital for efficient lift and maneuverability.
6. Batteries
Battery capacity impacts flight time and the power supplied to motors and electronics. Seek high-capacity, lightweight batteries to maximize performance.
7. Camera (Optional)
For photography enthusiasts, integrate a camera that suits your resolution and angle requirements. Stability features are important for capturing quality images.
Steps to Assemble Your Drone
Step 1: Frame Assembly
Start by assembling the frame, ensuring all parts fit securely. Consider frame size based on your desired drone type —
micro or full-size.
Step 2: Mounting Motors and Propellers
Mount the motors firmly onto the frame and attach the propellers. Keep an eye on motor orientation to ensure proper rotation direction.
Step 3: Calibrating ESCs
Install the ESCs and connect them with the motors. Calibration might be required to ensure optimal motor responsiveness and efficiency.
Step 4: Installing the Flight Controller
Securely fit the flight controller onto the frame, balancing its position to maintain the drone’s center of gravity for stable flight.
Step 5: Battery Placement
Position the battery, ensuring it complements the drone’s balance. Velcro straps might help for adhering better stability.
Step 6: Camera Installation
If equipped with a camera, securely mount it, considering factors such as angle adjustments and stability for clear footage.
Final Touches
Before your maiden flight, double-check all connections and flight components. Proper installation ensures safety and enhances
your drone’s longevity.
Testing and Troubleshooting
Conduct initial tests in a controlled environment. Check for immediate issues and fine-tune the flight controller settings.
Address issues like motor misalignment or electronic hitches promptly.
Frequently Asked Questions
Q: Can drones be flown anywhere?
A: While drones offer versatile uses, always adhere to local aviation regulations and guidelines.
Q: What’s the average flight time for homemade drones?
A: Flight duration varies based on battery capacity and drone size but typically ranges from 10 to 30 minutes.
Q: Do I need GPS modules for my drone?
A: GPS modules enhance navigation features but are optional for basic remote control functions.