
Building Your Own Drone: A Comprehensive Tutorial
Have you ever wondered how can we make a drone from scratch? In today’s high-tech world, building your own drone is not only a thrilling hobby but also a practical learning experience. Innovations in technology have made it possible for enthusiasts and hobbyists to embark on this exciting journey towards crafting their flying machines. Whether you aim to capture stunning aerial footage or just explore the skies, creating a drone is within reach.
Understanding the Basics
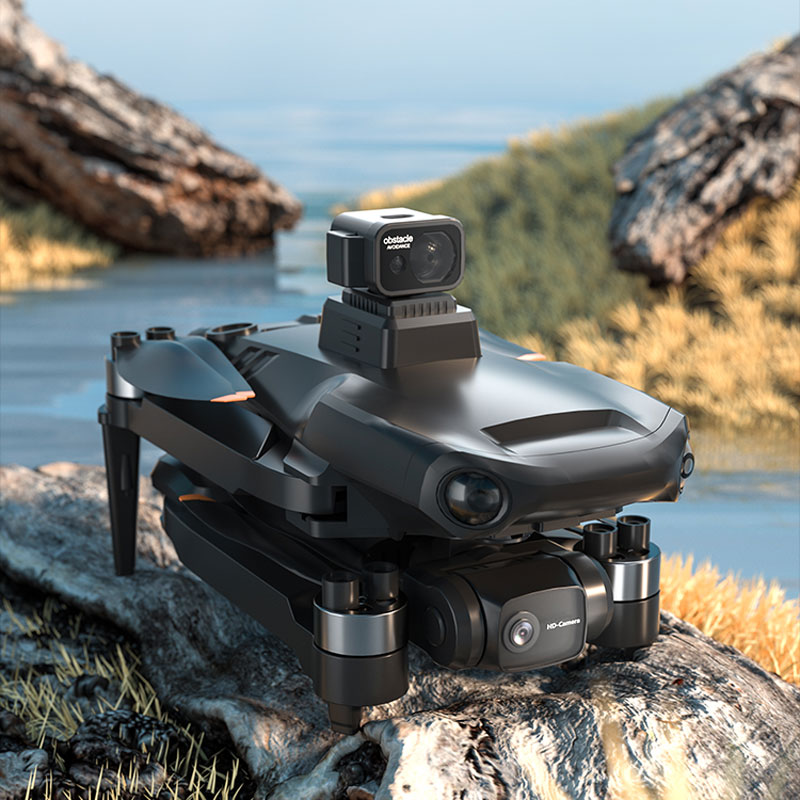
Before diving into the detailed process, understanding the basic components of a drone is crucial. Typically, a drone consists of a frame, propellers, motors, electronic speed controllers (ESC), a flight control system, batteries, and sometimes cameras or other sensors for added functionalities.
The Frame
The frame of the drone is like its skeleton, providing structural support and assembling all components. It should be lightweight yet sturdy enough to handle the weight and pressure during flights.
Motors and Propellers
- Motors transform electrical energy into motion, driving the propellers to lift the drone.
- Propellers require careful selection, as they influence the drone’s agility and speed.
Flight Control System
The flight control system is essentially the brain of your drone. It analyzes data from various sensors and adjusts the drone’s movement to ensure stable flight.
Tools and Materials You Will Need
To start building a drone, gather the following essential tools and materials:
- Screwdrivers and soldering iron
- Power supply and battery charger
- Drone kit or individual components
- Remote controller
Step-by-Step Assembly Guide
Now, let’s proceed with the assembly:
- Begin by assembling the frame. Follow the instructions particular to your frame type. Ensure each piece is securely attached.
- Attach the motors to the designated mounts. Make sure they are aligned for optimal performance.
- Install ESCs close to each motor to control the power voltage from the batteries.
- Connect the flight control system, ensuring it is firmly attached and correctly aligned. This ensures proper data flow and response.
- Secure the propellers to each motor. Double-check their alignment and balance to avoid flight issues.
- Connect the battery and ensure all electronic connections are secure and insulated.
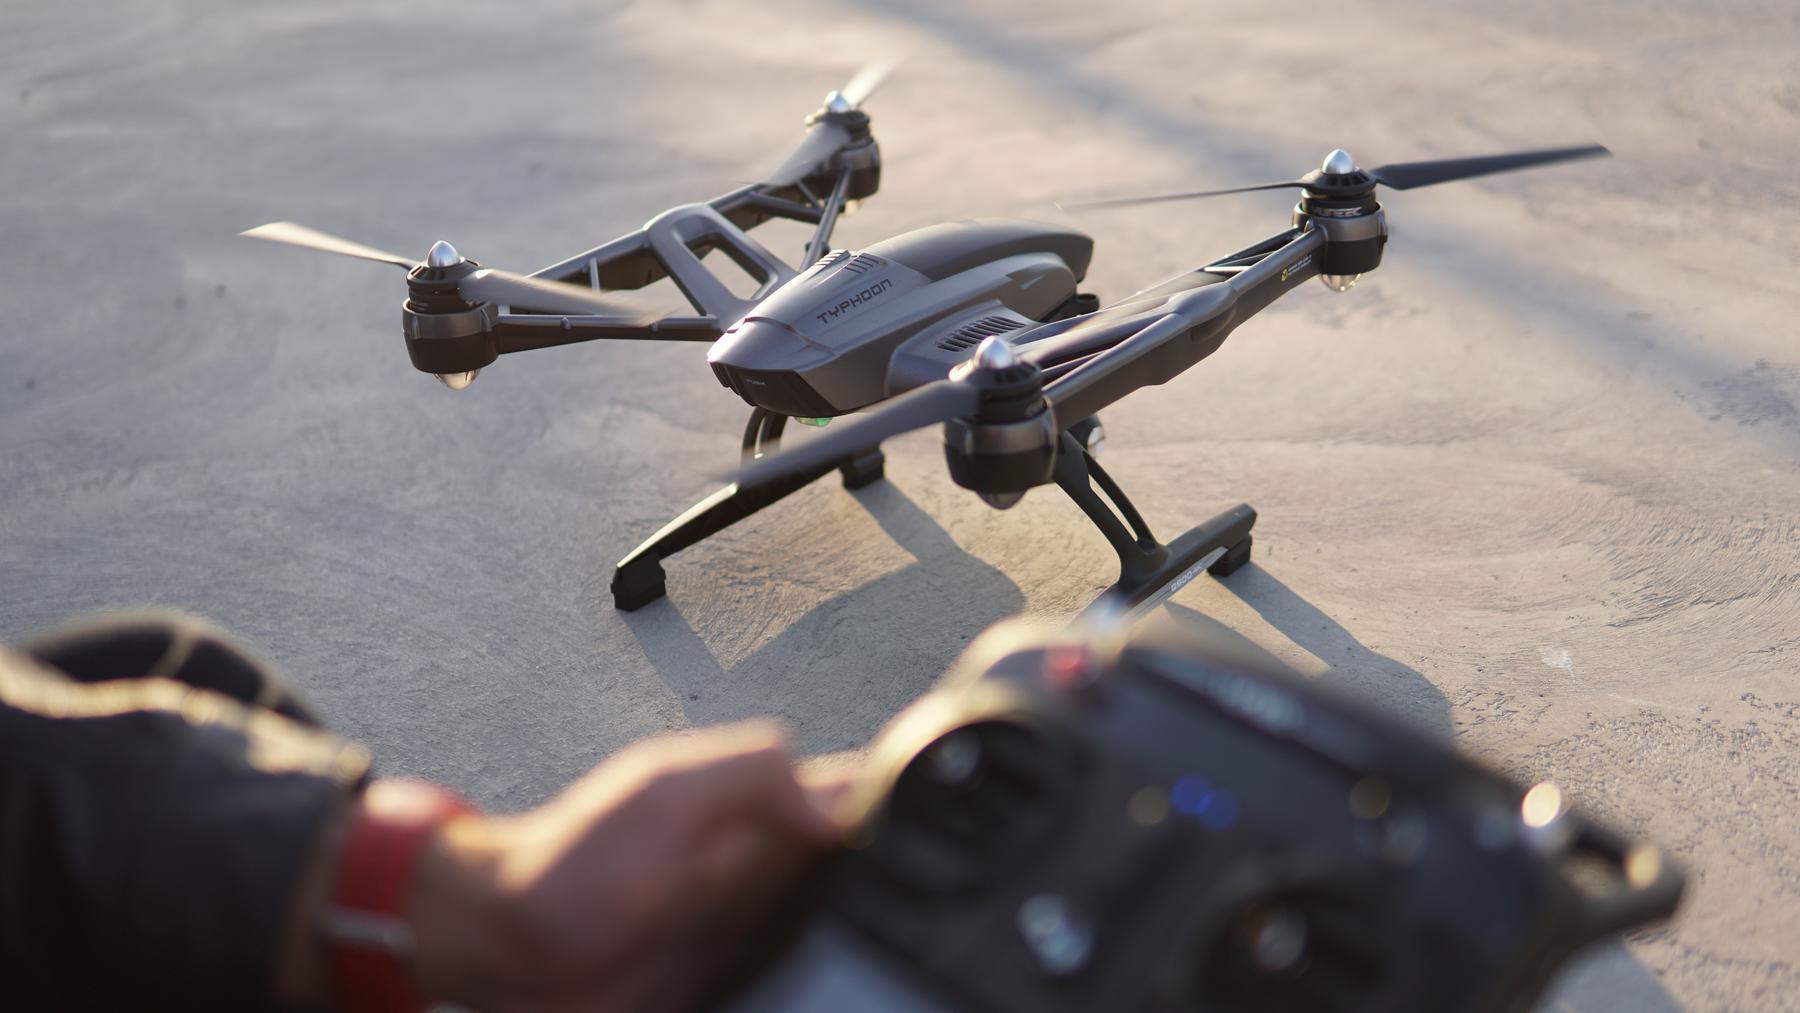
- Test the drone using the remote controller. Perform initial flight checks in a spacious and safe environment.
Troubleshooting and Maintenance
Flight stability issues or unexplained crashes can occur due to improper alignment or loose connections. Regularly inspect your drone after flights to check for any wear or tear.
Optimizing for Best Performance
Experiment with different settings on your controller and adjust the camera angle or sensors for better aerial coverage and photography.
FAQs
What are the legal requirements for flying a drone?
Typically, you will need permission from local aviation authorities, especially for drones equipped with cameras.
How long does it take to build a drone?
The process can take anywhere from several hours to a few days, depending on complexity and familiarity with assembly procedures.
Is it expensive to build a drone?
Though initial costs can be high, creating your own drone can be economical over time, particularly with reusing and upgrading parts.
Embarking on this journey not only teaches about electronics and aerodynamics but also rewards you with the ability to experience the world from a completely new vantage point. Share your own creations and join a community of drone enthusiasts to learn and grow together!