
Embarking on an adventure with a drone in kit is a thrilling experience that combines technology, creativity, and the satisfaction of building something with your own hands. These kits are perfect for hobbyists, educators, and anyone interested in the mechanics of flight. In this guide, we’ll delve into the multifaceted world of drone kits, exploring their benefits, components, and how to get started.
Understanding the Basics of Drone Kits
Drone kits are essentially packages that include all necessary parts to build a functional drone. They are great for tech enthusiasts and provide a deep dive into the workings of drone technology. Key benefits of these kits include:
- Customization: Tailor your drone to specific preferences and requirements.
- Skill Development: Enhance technical skills and understanding of aerodynamics and electronics.
- Cost-Effectiveness: Often cheaper than buying a ready-made drone.
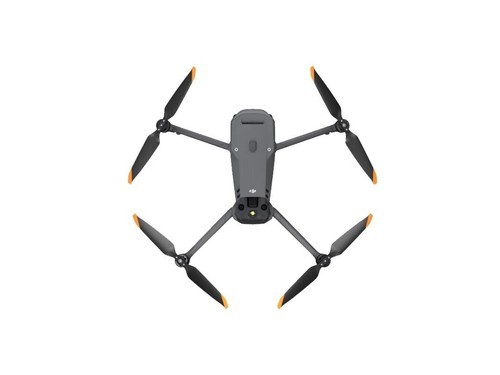
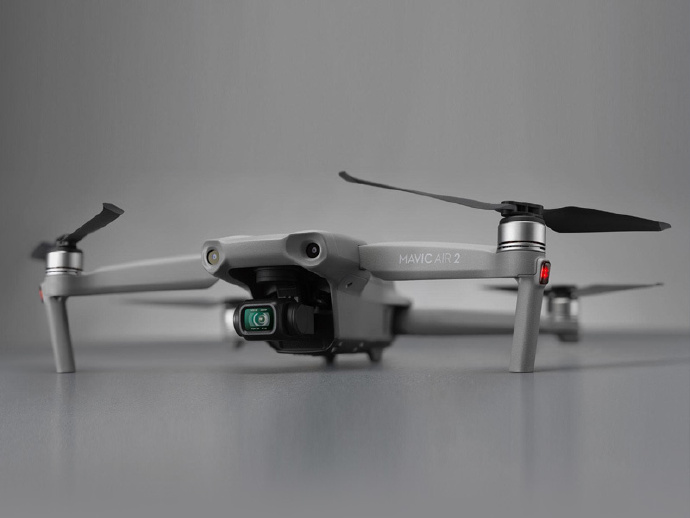
Components of a Drone in Kit
Each kit comes with several components that are crucial for assembly:
- Frame
 : The skeleton of your drone, available in various materials such as carbon fiber or plastic.
 - Motors: Typically four, though the number can vary based on the drone type.
- Propellers: Essential for the lift-off; they come in pairs of clockwise and counterclockwise.
- Flight Controller: The brain of the drone, managing flight operations and stability.
- ESC (Electronic Speed Controllers): Connect the motors and battery, controlling speed and direction.
- Battery and Charger: Powering the drone; ensures sufficient flight time and efficiency.
- Transmitter and Receiver: For remotely controlling the drone.
Choosing the Right Drone Kit
Selecting the right drone in kit depends on several factors:
- Experience Level: Beginners should look for simpler kits with comprehensive instructions.
- Intended Use: Whether for photography, racing, or educational purposes.
- Budget: Kits are available in a wide range of prices; consider quality and value.
Step-by-Step Assembly Process
Assembling a drone in kit requires patience and precision. Here’s how to get started:
- Read the Manual
 : Carefully review instructions before beginning.
 - Layout All Components: Organize parts and verify against the list to ensure nothing is missing.
- Build the Frame: Assemble the frame securely, making sure it’s stable and balanced.
- Install Motors: Affix motors to the frame, ensuring correct placement for optimal performance.
- Connect Electronic Components: Attach ESCs, flight controller, and battery carefully.
- Propeller Setup: Attach propellers, checking for proper direction and balance.
- Test Flight: Perform a test run to check for any assembly issues and ensure proper flight dynamics.
Maintenance Tips for Your Built Drone
Maintaining your handcrafted drone in kit is crucial:
- Regular Inspections: Frequently check connections and tighten screws.
- Battery Care: Charge properly and store in a cool, dry place.
- Software Updates: Keep flight controller software updated for optimal functionality.
Common Challenges and Troubleshooting
Encountering issues is part of the learning process:
If your drone in kit is not performing well, consider these tips:
- Calibration: Ensure all sensors and the flight controller are correctly calibrated.
- Check Connections: Verify all wires and connections are secure and in place.
- Re-balance: An unbalanced drone may lead to unstable flight; adjust the weight distribution accordingly.
FAQs
Q: What skill level is needed to build a drone in kit?
A: No prior experience is required, but understanding basic electronics and mechanics will be beneficial.
Q: Are all drone kits the same?
A: No, they vary in complexity, size, and intended use, so choose according to your needs.
Q: Can I buy additional parts for customization?
A: Yes, most kits are compatible with off-the-shelf components for upgrades and modifications.