
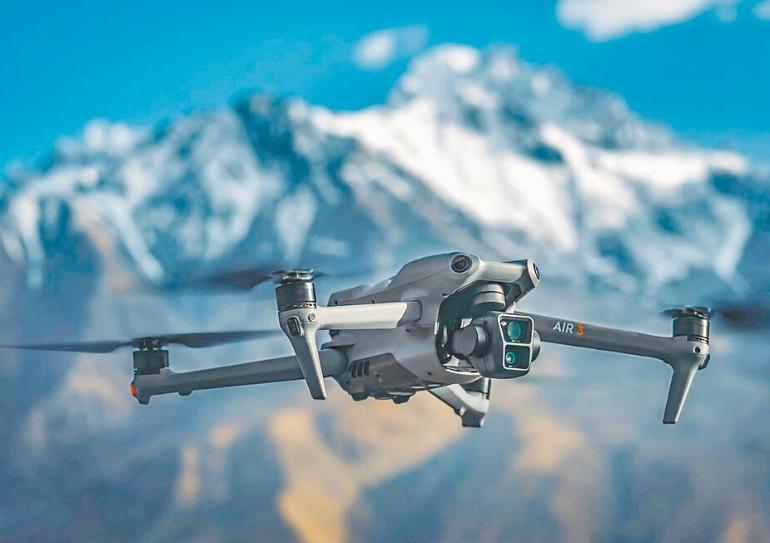
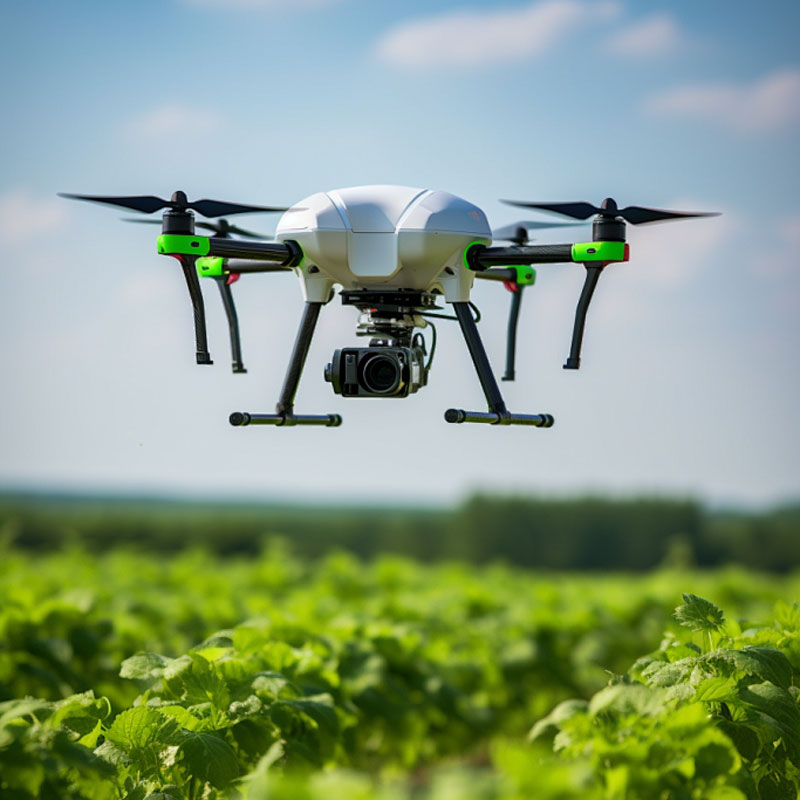
Understanding the Basics
Before you embark on your DIY drone journey, it’s vital to grasp the basic components involved. A standard drone is composed of a frame, motor, electronic speed controller (ESC), flight controller, and a power source, usually in the form of a lithium polymer (LiPo) battery. Understanding these components will empower you to craft a drone tailored to your specifications.
Selecting the Right Frame
The frame serves as the backbone of your drone. It supports all the other components, so selecting a sturdy yet lightweight material like carbon fiber is essential. The frame’s design will also vary depending on whether you want a quadcopter with four propellers or a hexacopter with six. Choose accordingly to meet your flight objectives.
Choosing the Perfect Motors
The motor’s primary role is to spin the propellers, which produces the thrust required for flight. Brushless motors are preferable because they offer a higher efficiency and longer lifespan. The number of motors should match the propeller count, ensuring a harmonious setup.
After determining the motor type, it’s time to select the propellers. Ensure the size and pitch are suitable for your drone’s intended use. Too much or too little thrust can affect flight stability.
Integrating the ESC and Flight Controller
The Electronic Speed Controller adjusts the motor speeds, while the flight controller is the brain of your UAV, processing data from various sensors to ensure stable flight. You can opt for a controller with GPS capabilities if you aim for automatic navigation. Both components should be compatible.
The power source is equally crucial. LiPo batteries are the standard choice, balancing weight and power efficiently. It’s important to check the battery’s voltage and capacity to match your drone’s energy requirements without overloading it.
Assembling Your DIY Drone
Begin assembling your drone by attaching the motors to the appropriate arms of your frame. Next, secure the ESC, followed by mounting the flight controller. Once everything is in position, connect the wiring, and attach the propellers. Finally, install the battery, and you’re ready to test your creation.
Testing and Troubleshooting
Testing is a vital process in DIY drone construction. Conduct initial tests in an open area. Look out for imbalances and make adjustments to improve stability. Calibration of the flight controller may be necessary to fine-tune the drone’s responsiveness.
FAQs
- What materials are best for drone frames? Carbon fiber is highly recommended due to its strength and lightweight properties.
- How long will it take to build a drone? The time varies based on your expertise, component availability, and complexity of the drone. It might take a few days to several weeks.
- Can I make a drone without soldering? It’s possible with solderless kits, although soldering ensures more robust connections.