
Building a custom drone kit can be an exciting and rewarding project for both beginners and experienced enthusiasts. With the rise of drone technology, having the ability to create a personalized drone provides flexibility in design and functionality. Understanding how to assemble a drone from a kit involves knowing the essential components and how they interact. Here, we explore all aspects of building a custom drone, including choosing the right components, understanding the technology, and how you can tailor your drone for specific uses.
Choosing the Right Drone Kit
When selecting a drone kit, it’s crucial to consider your experience level, the purpose of the drone, and your budget. Kits can range from basic models for beginners to advanced configurations for professional use. If you’re new to flying drones, you might want to start with a simpler design that offers easy assembly and built-in safety features. Experienced users might prefer a more complex kit that allows for advanced customization and specialized features.
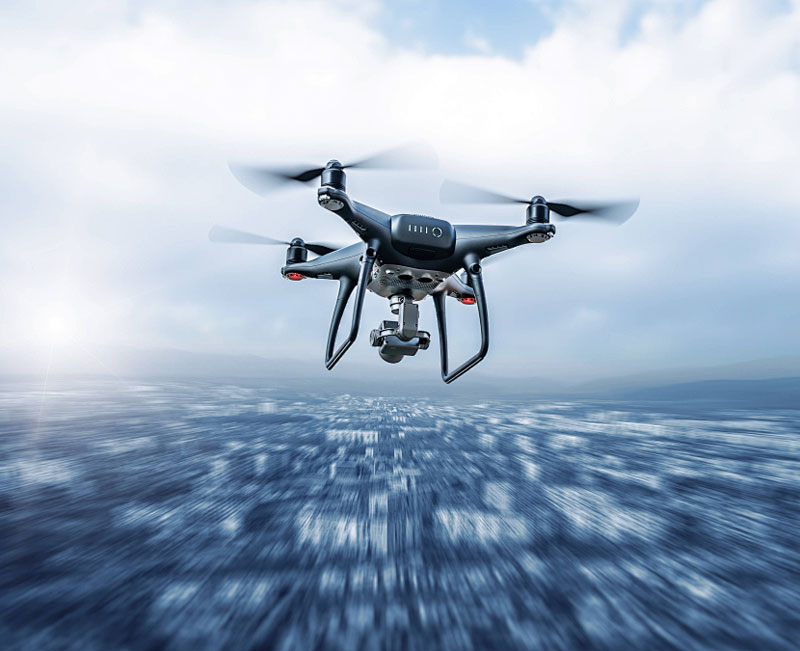
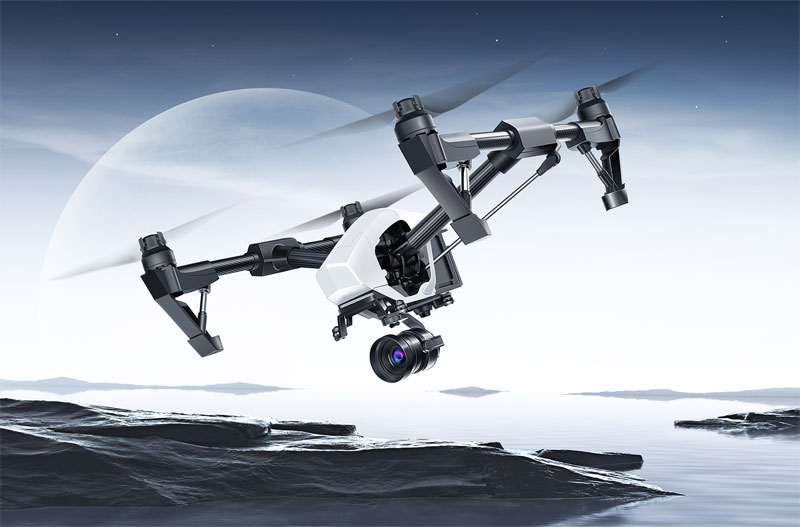
Essential Drone Components
- Frame: The skeleton of your drone, supporting all the other components.
- Motors: Vital for propelling the drone through the air.
- Propellers: Turn the motor’s power into lift.
- Electronic Speed Control (ESC): Regulates the motors’ speed.
- Flight Controller: The ‘brain’ of the drone that manages inputs and movements.
- Battery: Powers the drone, essential for flight time.
- Transmitter and Receiver: The remote controls and onboard systems used for communication.
Assembling Your Drone Kit
Once you have selected your kit and gathered the necessary components, follow the instructions carefully. Start by assembling the frame, ensuring stability and balance. Afterward, securely attach motors and electronics, using the ESC to connect the motors to the flight controller properly. Install your propellers and ensure everything is tightly secured. Connecting the transmitter and receiver will require patience and precision to avoid interference and ensure proper communication.
Whether you’re building a drone for racing, aerial photography, or just for fun, the key to a successful project is research and meticulous assembly. Balance and weight distribution are critical to drone performance, so double-check all components for secure fitting and proper wiring.
SEO Benefits of Custom Drone Kits
Custom drone kits are great for hobbyists, and they can also provide SEO benefits for businesses involved in drone technology. Articles, blog posts, and tutorials about building and using drone kits can drive traffic to websites, enhancing brand visibility. Including keywords like “drone kit,” “custom drones,” and “drone assembly” in your content can attract enthusiasts and professionals interested in the field.
Maintaining Your Custom Drone
After assembling your custom drone, regular maintenance is essential for longevity and performance. This includes checking for wear and tear, calibrating the flight controller, and ensuring battery health. Routine checks prevent malfunction and optimize the drone’s efficiency by keeping each component in top condition.
Frequently Asked Questions
What is the easiest drone kit to start with?
For beginners, kits with clear, step-by-step instructions and robust safety features are recommended. Brands that offer comprehensive customer support and tutorials can also be beneficial.
How long does it take to build a drone kit?
The time required varies based on the complexity of the kit and the builder’s experience. Simple kits may take a few hours, whereas advanced kits might require several days of careful assembly.
Can I modify my drone after assembly?
Yes, one of the advantages of building a custom drone kit is the ability to upgrade or modify components as technology advances or your needs change. This offers a great way to keep your drone current and cater to specific tasks or projects.