
Discover the Excitement of Crafting Your Own UAV for Aerial Exploration
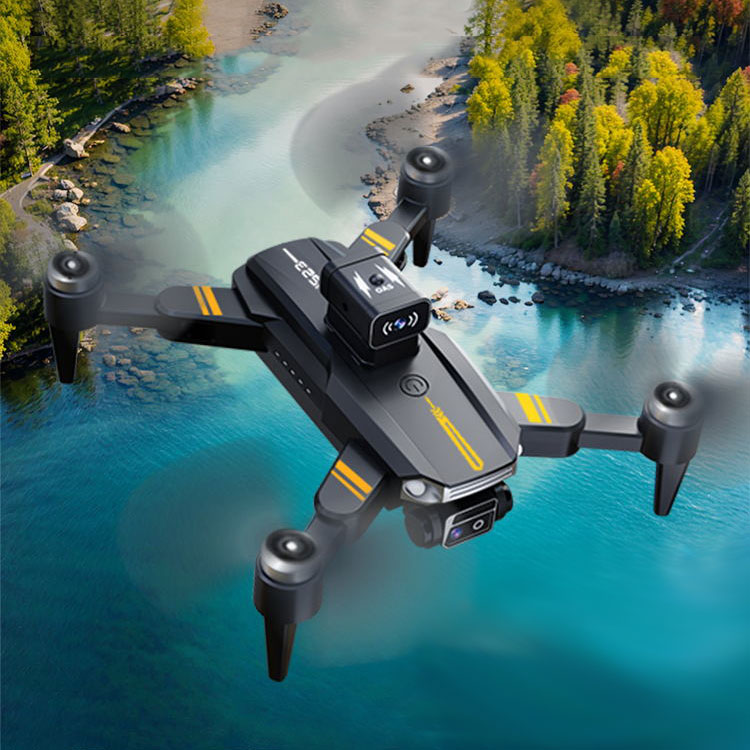
Creating a diy drone with camera is not only an engaging hobby but also an opportunity to explore photography from extraordinary angles. Building your own unmanned aerial vehicle (UAV) allows you to tailor the device to your preferences, whether you’re capturing stunning aerial footage or embarking on precision surveillance missions.
To begin, you need to consider the main components: the frame, motors, electronic speed controllers (ESCs), flight controller, receiver, and of course, a quality camera. Each part plays a critical role in ensuring your drone’s optimal functionality and performance.
Selecting the Perfect Frame and Motors
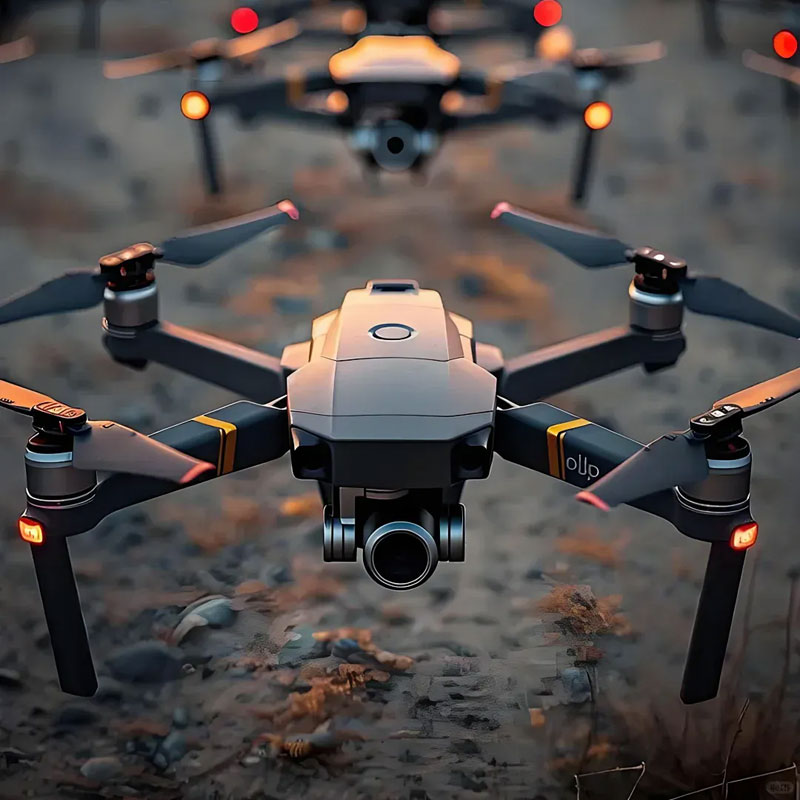
The frame should be lightweight yet sturdy. Carbon fiber is often preferred for DIY enthusiasts due to its durable nature and reduced weight. This directly impacts the drone’s agility and battery consumption. Motor selection then follows based on the size and purpose of your drone. Brushless motors are generally favored for their efficiency and longevity.
Camera and Sensors: Eyes in the Sky
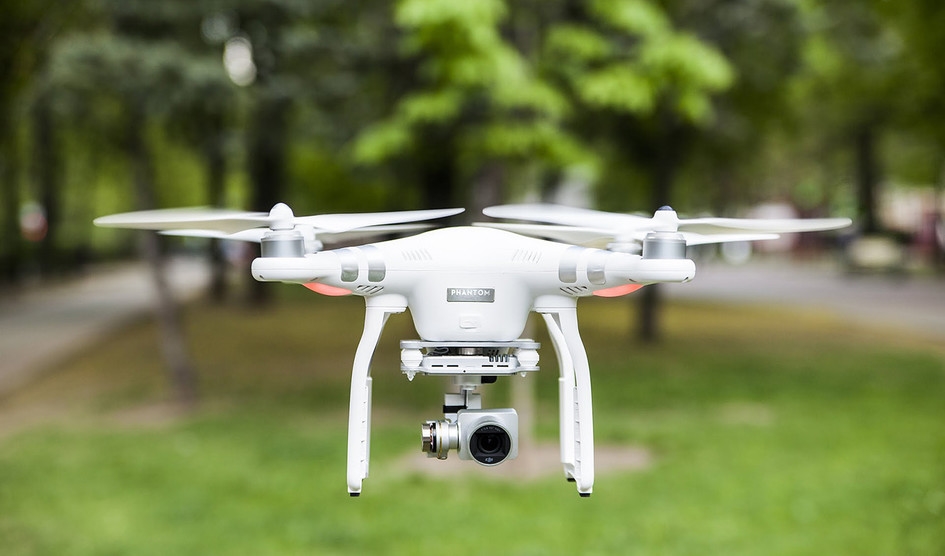
Investing in a high-quality camera is foundational when crafting a diy drone with camera. Consider cameras that offer high-resolution capabilities and features like stabilization to ensure sharp imaging even when your drone is in motion. Additional sensors, such as GPS and gyroscopes, can enhance navigation and stability, making sure you achieve excellent photos and videos.
Building Your Drone Step by Step
Start by assembling the frame and mounting the motors using screws and mounts that secure a tight fit. Connect the ESCs to each motor and link them to your flight controller. The flight controller is the brain of your DIY project, interpreting control inputs and executing maneuvers. Attach the receiver to allow communication between your remote and the drone. Lastly, install the camera, ensuring it’s properly aligned and not obstructed.
Programming the Flight Controller
Once hardware assembly is complete, tuning software settings on the flight controller is crucial. Use open-source programs to calibrate your UAV, adjust flight limits, and configure custom flight paths. Investing time in these configurations can dramatically impact flight stability and performance.
Integrate real-time video feed options, which require tweaking settings in both your drone’s camera and control system. This feature lets you enjoy live footage, broadening the scope of what’s possible with your aerial gadget.
Frequently Asked Questions
- What battery should I use for a DIY drone with camera? Lithium Polymer (LiPo) batteries are recommended due to their high delivery rate and lightweight design.
- How can I enhance drone signal range? You can use signal boosters and select a wireless receiver that supports extended frequencies, ensuring smoother control over large distances.
- What safety measures should I follow? Always check local regulations before flights. Equip your drone with return home capability in case of signal loss, and ensure propellers are well protected to avoid accidents.
Embarking on constructing a diy drone with camera offers not only technical challenges but also rewarding experiences once your drone takes flight. The blend of technology and creativity in aerial photography makes this an invigorating project for tech enthusiasts and photographers alike.