
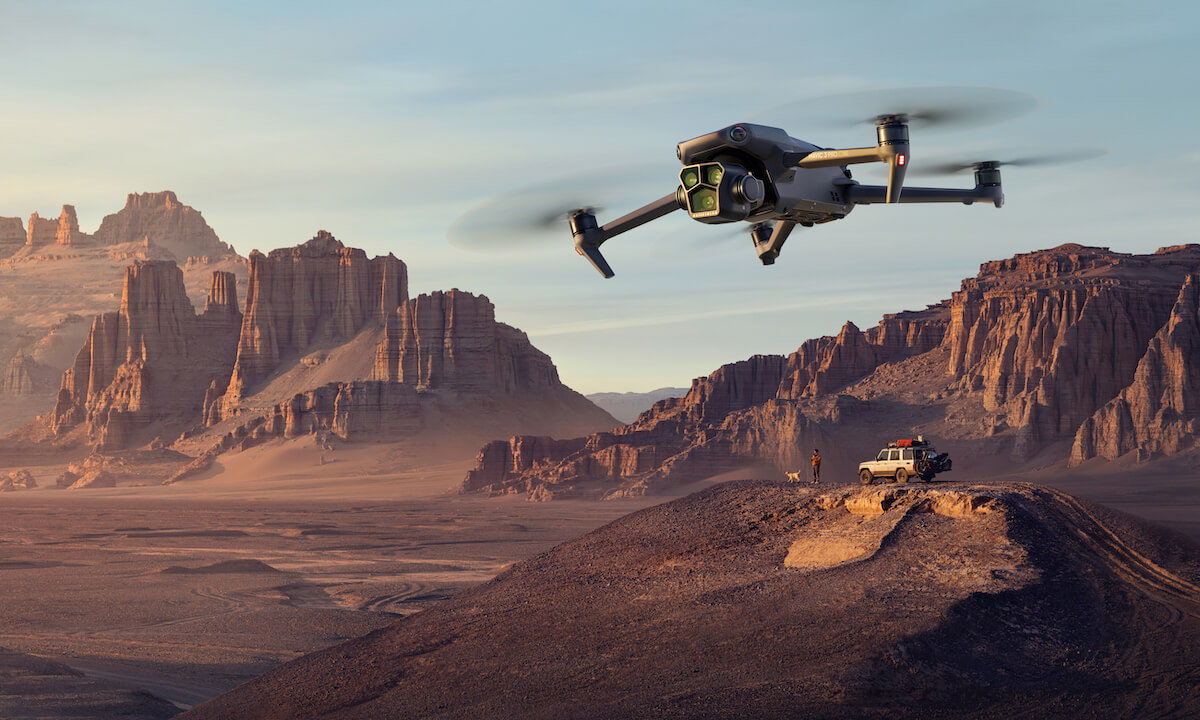
If you’re interested in drones, the opportunity to build your own drone with a camera kit is an exciting prospect. Drones are increasingly popular for both recreational and professional use. By creating your own, you have the flexibility to customize according to your specific needs, whether that’s for aerial photography, videography, or simply leisure flying. Let’s dive into how you can embark on this fascinating journey.
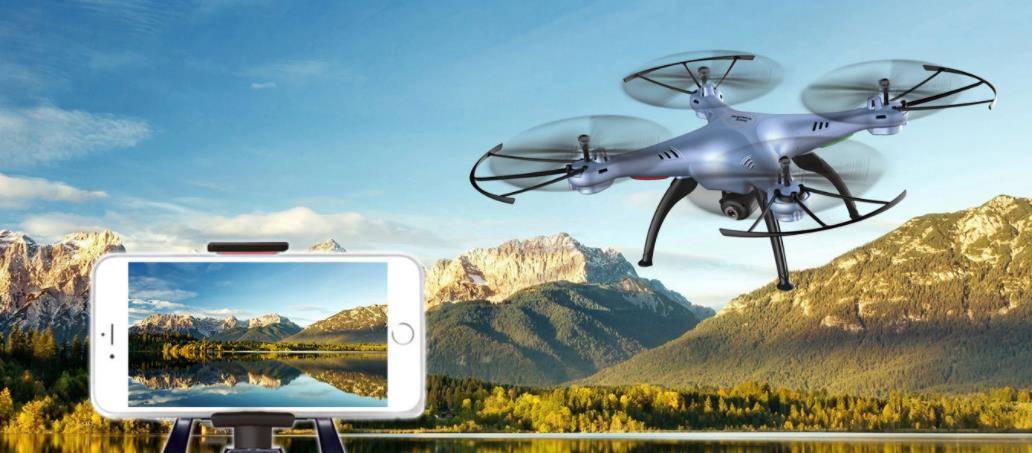
Choosing the Right Camera Kit
Basic Components of a Drone
- Frame – Serves as the skeleton of your drone, holding all components together. Choose a sturdy yet lightweight material.
- Motors and Propellers – These provide the lift and thrust required for flight. Match them carefully based on your drone’s size and weight.
- Flight Controller – The brain of your drone, ensuring stability and control. Look for controllers with intuitive interfaces for easy programming.
- Battery – Powers the drone, affecting flight time. A high-capacity battery will allow longer flight durations but adds weight.
- Transmitter and Receiver – These allow you to control the drone remotely. Ensure they have a strong and reliable signal range.
Building Your Drone
Once you’ve gathered all necessary components, follow these general steps:
- Assemble the frame, ensuring it’s balanced.
- Install the motors, securing them firmly to avoid vibrations.
- Attach the flight controller, configuring it with the necessary firmware.
- Connect the camera securely, ensuring it won’t detach during flight.
- Check all connections, particularly the battery and transmitters.
These steps provide a rough guide; always refer to the specific instructions provided with your camera kit and drone parts. Additionally, consider seeking advice from online communities and forums. The drone enthusiast community is vast and offers a wealth of knowledge.
Testing and Fine-tuning
- Calibrate your flight controller to ensure accurate navigation.
- Test the camera’s functionality, ensuring it’s aligned and focused.
- Conduct a hover test to check balance and stability.
Once confident with these trials, proceed with your maiden flight in an open area, away from obstacles and crowds. Fine-tuning may be necessary to achieve optimal performance, so be patient and make minor adjustments as needed.
FAQs About Building a Drone with a Camera Kit
Can I legally fly my custom-built drone?
Regulations vary by country, so always check local laws and guidelines. In many regions, drones need to be registered, and operators must follow specific flight rules.
What are the best resources for learning about drone building?
Online forums, YouTube tutorials, and books dedicated to drone technology are excellent resources. Join communities to share experiences and receive advice.
Is it difficult to build a drone with a camera kit?
With the right resources and a bit of patience, building a drone is achievable for most people. Start with kits designed for beginners, and gradually take on more advanced projects as your skills grow.