
Creating your own drone can be an exciting and rewarding experience. Whether you are a hobbyist or an aspiring engineer, understanding how can we make a drone involves grasping the basic components, mechanism, and technology that lead to a successful flight. Let us embark on this aerial journey and explore the various aspects of drone building.
Understanding the Basics
The initial step in constructing a drone is to comprehend the basics. A typical drone comprises several essential parts: the frame, motors, electronic speed controllers (ESCs), propellers, flight controller, battery, and remote control. Each plays a vital role in ensuring the drone’s ability to fly.
Choosing the Right Frame
The frame is the backbone of your drone. It must be lightweight yet sturdy enough to withstand crashes. Common materials include carbon fiber, plastic, and aluminum. Each material has its advantages; for example, carbon fiber is strong and light, while plastic is more affordable.
Motors and Propellers
The motors and propellers work in tandem to lift the drone off the ground. Brushless motors are recommended for their efficiency and power. The size of your propellers should correspond to the size of your drone, as larger propellers offer more lift.
Electronic Components
Electronic Speed Controllers (ESCs)
ESCs connect the flight controller to the motors, regulating the amount of power supplied. It’s crucial to ensure that the ESCs match the motor specifications to prevent malfunction.
The Flight Controller
The brain of the drone, the flight controller interprets signals from the remote control and sensors to maintain stable flight. Different flight controllers vary in features, so select one based on your experience level and requirements.
Battery and Power Distribution
The battery powers the entire drone. Lithium Polymer (LiPo) batteries are commonly used due to their high energy density. Additionally, the power distribution board ensures that all components are properly powered.
Assembly and Calibration
Once you have gathered all components, it’s time to assemble your drone. Begin by installing the motors on the frame, followed by the ESCs and flight controller. Wiring must be tidy to avoid entanglement during flight. Once assembled, calibrate the drone using software as per the flight controller’s instructions.
Testing Your Drone
Before flying, it’s important to conduct ground tests. Verify all connections and ensure that the drone responds correctly to input from the remote control. Safety is paramount, so perform these tests in an open and controlled environment.
Enhancing Your Drone
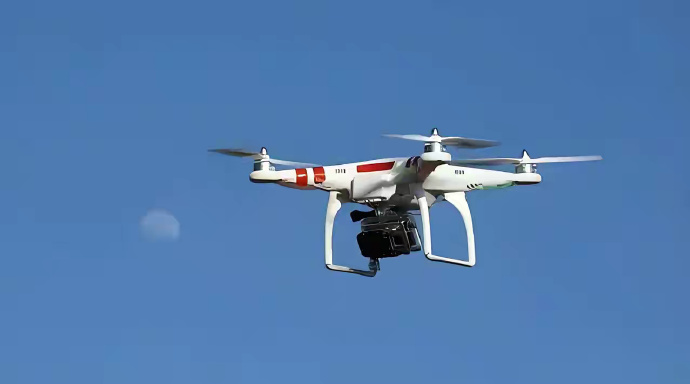
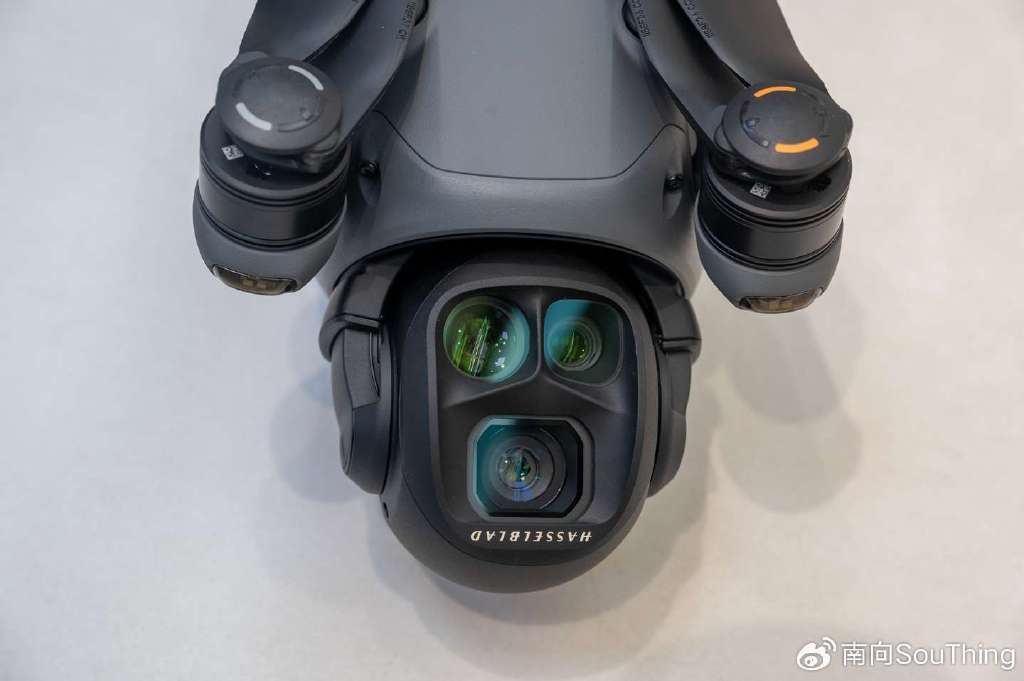
Once your drone is up and running, consider adding enhancements such as cameras for FPV (First Person View) flying, GPS systems for navigation, or various sensors to improve stability and functionality.
Legal Considerations
Be aware of the legal implications of flying drones in your region. Regulations may require registration of your drone or restrict certain areas where you can fly.
FAQs
What is the average cost of building a drone? The cost can range from $100 to $1000, depending on the quality of parts and features desired.
How long does it take to build a drone? For beginners, the process might take a few weeks, factoring in time spent on learning and potential troubleshooting.
Is programming knowledge required? Basic understanding can be beneficial, especially for flight controller setup and advanced features!