Building your own drone can be an exhilarating experience, especially when accompanied by a camera for capturing stunning aerial views. The journey of constructing a drone kit with a camera not only enhances your technical skills but also provides a sense of accomplishment and ownership. With advancements in technology, build your own drone kit with camera options have become increasingly accessible, making it easier for hobbyists and enthusiasts to create personalized flying machines.
Choosing the Right Kit
The first step in embarking on your drone-building adventure is selecting the right kit that fits your needs and expertise level. Many kits on the market cater to various skill sets, from beginner level to advanced drone engineers. Look for kits that come with comprehensive instructions and quality components to ensure smooth assembly and optimal performance. Popular kits include features such as GPS systems, altitude control, and return-to-home functions, which enhance the flying experience and camera capabilities.
Essential Components of a Drone Kit
- Frame: The structure of the drone, which supports all components.
- Motors: Determine how fast and high your drone can fly.
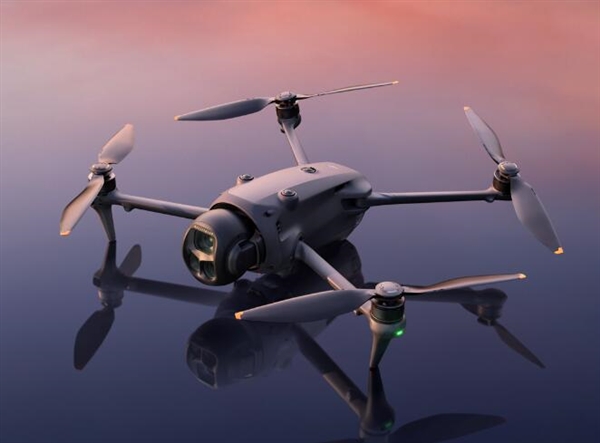
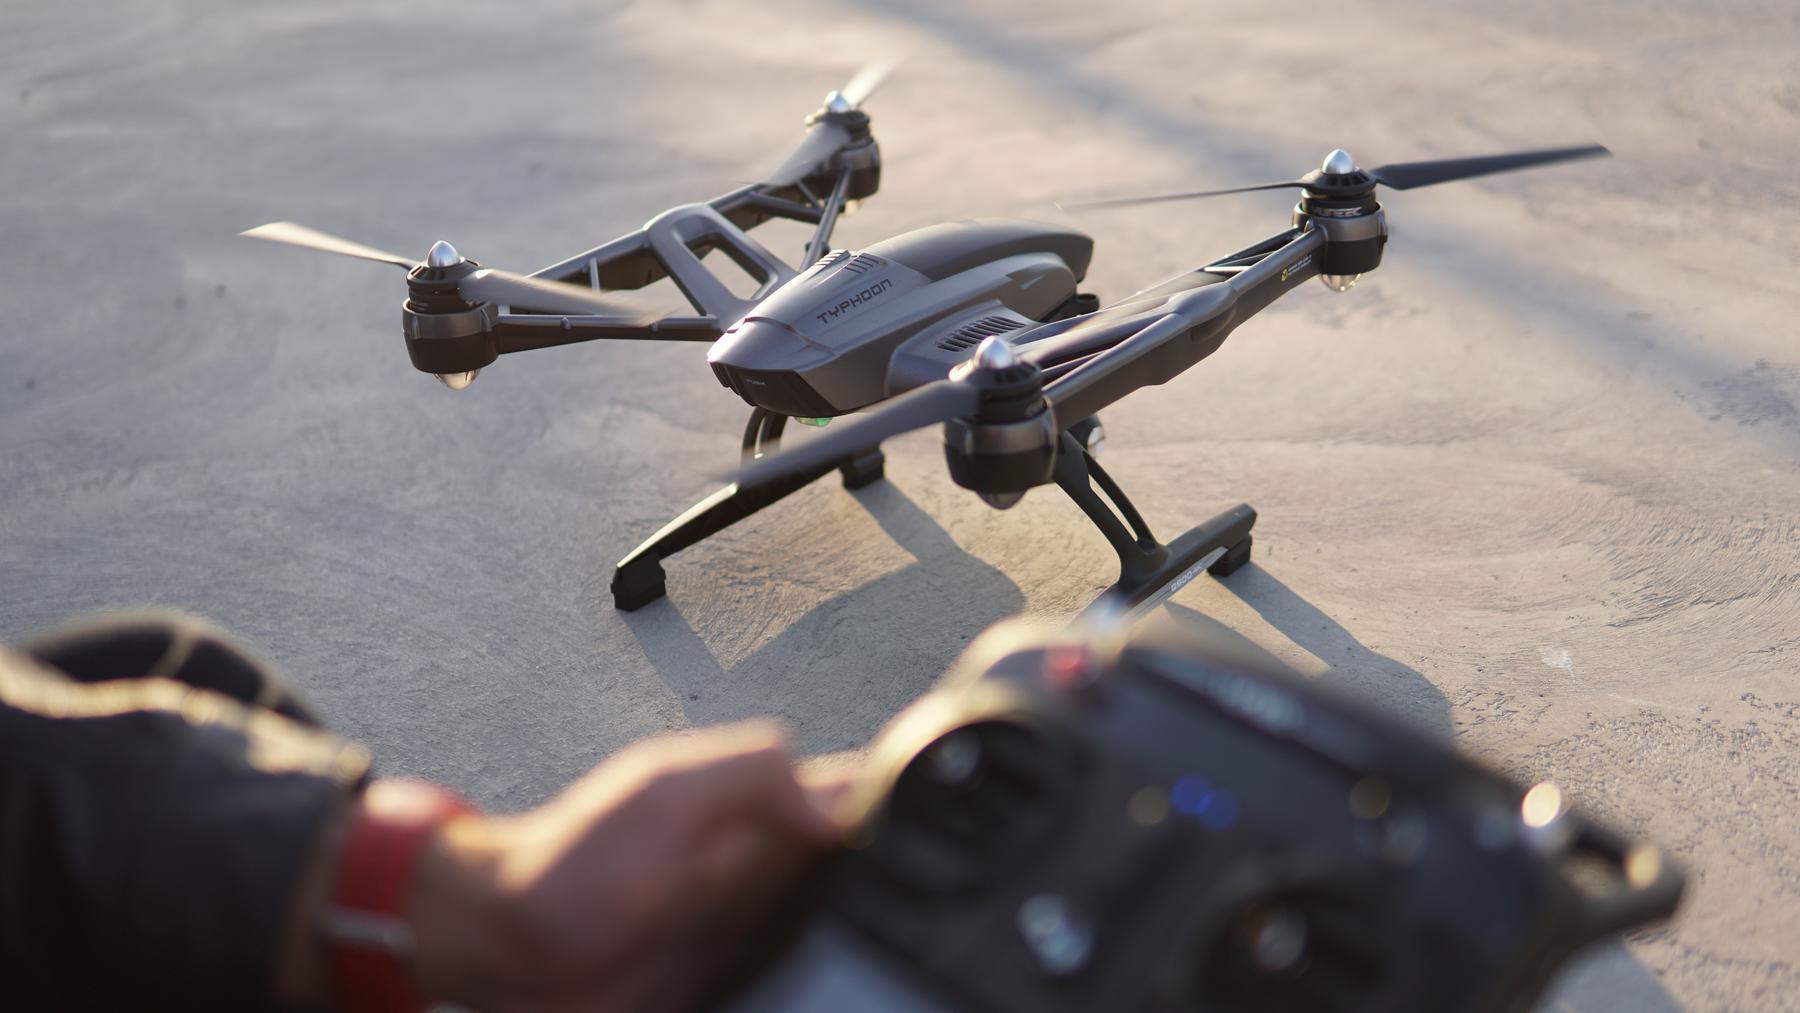
- Camera: Crucial for aerial photography; ensure it offers high-resolution captures.
- Flight Controller: Acts as the brain of the drone, managing balance and navigation.
- Battery: Ensure a long-lasting battery for extended flying sessions.
These components form the core of the build your own drone kit with camera. Pay attention to compatibility among these parts for an efficient setup. Consider factors like weight, power consumption, and durability.
Step-by-Step Assembly Guide
Assembling the drone kit is a rewarding process that demands attention to detail. Begin by constructing the frame, which provides a sturdy base. Follow this by installing the motors carefully, ensuring they are secured and wired correctly. The flight controller should be installed next, followed by the battery setup, ensuring efficient power delivery. Finally, attach the camera, ensuring it is securely mounted to avoid jarring during flight.
Tip: During assembly, make use of tutorial videos for a hands-on visual aid to complement written instructions.
Enhancing Your Drone
Once your drone is assembled, consider adding extra features to optimize its capabilities. Investing in a better camera or adding FPV (First Person View) systems can significantly enhance the flying experience. Experiment with different propeller sizes for improved agility or add LED lights for night flying. These enhancements can transform a basic build your own drone kit with camera into a sophisticated flying machine.
Safety Considerations
Safety should be a top priority when flying drones with cameras. Be mindful of weather conditions, avoid restricted areas, and always maintain a visual line of sight. Understanding the drone laws and regulations in your region will help avoid legal issues and ensure responsible flying.
Common FAQs
- How long does it take to build a drone kit?
- The time varies based on complexity and skill level, ranging from a few hours to several days.
- Can I upgrade the camera in the kit later?
- Yes, upgrading the camera is possible, provided compatibility with existing components.
- What is FPV in drones?
- FPV stands for First Person View, allowing real-time video streaming from the drone to a display device.